lundi 26 mars 2012

finishing the archings

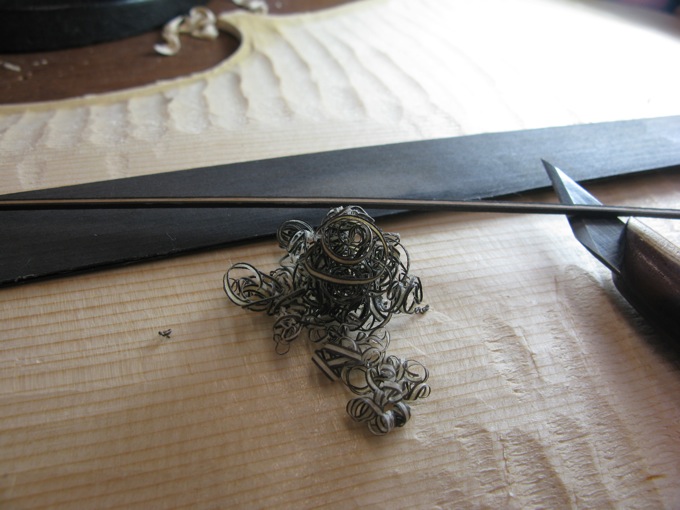
Once the purfling is in place and the fluting is finished - that is the narrow hollow running along the outline  and featuring the purfling in its deepest point - we can go back to the arching and make all the shapes flow together.
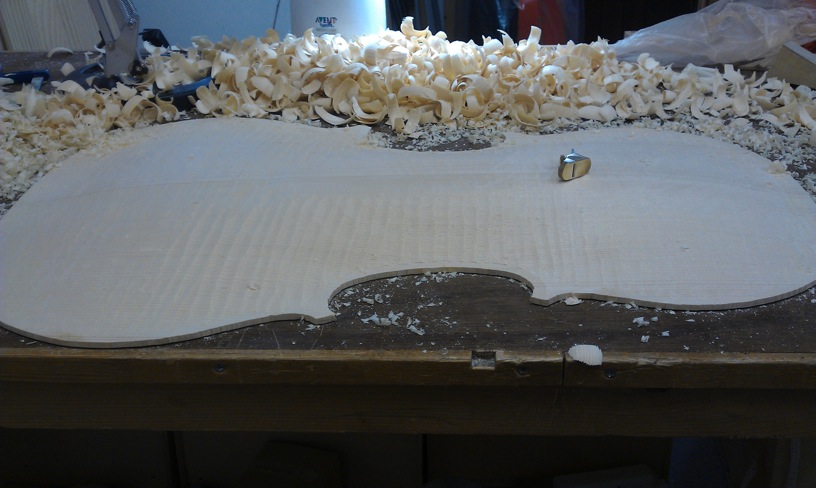
Gouges are used first and then little planes that we call Thumb Planes. These are often fascinating because of their size.

The scrappers will smooth the surface to a satin finish and a localized use will smooth out the small bumps, flats and hollows that can disturb the elegance of the arching.

dimanche 25 mars 2012

Purfling - part 3


 The bending iron is used at a low temperature for bending the purfling and make sure it doesn't break.
I use a very sharp knife to get the mitres to joint in an harmonious flow. The outside of each corner is always the one which take over the inside one to assure an optical harmony. Each half of the mitre as its blacks and white cut in a way that flaters the whole mitre and ultimately the corner itself.

The gluing process is stressful because it feels like each part of the purfling should be glued all in the same time, but the glue jellify in seconds and when it does, it loses its gluing properties.
On this picture of the back, we can see the finish mitre once the purfling has been fitted, glued and cleaned up.

Purfling - part 2

 A very sharp knife, a lot of care and patience are all what we need to cut the purfling channel once it's been marked, making sure that it is not too deep as to not make the edge even more fragile rather than stronger (which is the purpose)
My purfling "pick" was designed by myself for my own technique when I was a student. I never found  the traditional pick being very practical to me, so I altered a knife into my very own purfling knife.
A levering motion allows me much more control than a pushing motion that is the principle of the pick.

Purfling - first part

The purfling is that black and white line that runs around the instrument (which is in fact an inlay of three wood veneers)
Traditionally the color might have had aesthetic purpose, but the inlay itself definitely has a higher purpose in the strength and structure of the edge - this area being very fragile at the seam (where the ribs and the plates are glued together)
While some makers rely on pre-made purfling, we have been making our own.
The black is often pear wood which has been stained with logwood chips (along with my kitchen walls), and the white can be poplar or willow.
Once the veneers are glued together, strips of 2mm are cut and each edge carefully planed.

The purfling marker is a tool specifically designed for the purpose of marking where the channel will be cut to a perfectly set distance from the edge (and following the outline, hence the care that has to brought to the latest)
I must admit our purfling marker is particularly fancy and now quite rare.
The blades are set with a bit of purfling between then and the handle rest on the outline. the screws are for setting it.
However good the marker, when comes to the corners, this will have to be drawn free hand. Where the purfling meet in the corners, this is called the mitres. It usually takes me ages before I am happy with the [imagined] 8 mitres flawing in the 8 corners, each working as a whole as well as adjusting to the slightly individual shape of each corner.

lundi 12 mars 2012

Finished outlines


This picture shows the entire outline finished on the front.
That plate will yet look very different with its fluting and the finished edges.

finishing the outlines

When the arching are "roughed" - that usually means the higher point is brought to definitive (or almost), and the rest has been given a little bit more of an arching shape, we bring the edges to the definite set height and make sure they are accurately flat. We call this the platforms. They are a reference point from which the outline of the edge will be refined to its finished form and that has to be to right angle with the platforms so the purflings and the flutings can be flowing. From this the finished arching depends a lot too.


I then finish the outlines.
The edges have an important role in the aesthetic and in the structure. They have to be strong, but they cannot be too thick, they have to be elegant, and even though the finishing of them is the last stage before the plate is glued to the ribs, it's how we treat them during the outline making that lead to what they will look like on the finished instrument. My files will be my main tool to get my edges right and square, but in the corners and the "C"s and like using a razor sharp knife to get a crisp cut in the grain.

lundi 20 février 2012

Creating the archings

I do prefer starting the rough arching before bringing the outline to a finish.
In this case, Douglas did a lot of rough arching because as my bump grow, so decrease my physical strength.
We don't forbid ourselves the use of machine tools in that process either as long as they are entirely controlled by hand, so the archings are still our creations.
When creating an arching, a number of material is at our disposal : templates, pictures, plaster casts (plaster copies of existing instruments - usually made by masters such as Stradivari), and for sure our experience is a good guide.
However I found myself that when I make an arching, my flair will be my best guide.