dimanche 25 mars 2012

Purfling - first part

The purfling is that black and white line that runs around the instrument (which is in fact an inlay of three wood veneers)
Traditionally the color might have had aesthetic purpose, but the inlay itself definitely has a higher purpose in the strength and structure of the edge - this area being very fragile at the seam (where the ribs and the plates are glued together)
While some makers rely on pre-made purfling, we have been making our own.
The black is often pear wood which has been stained with logwood chips (along with my kitchen walls), and the white can be poplar or willow.
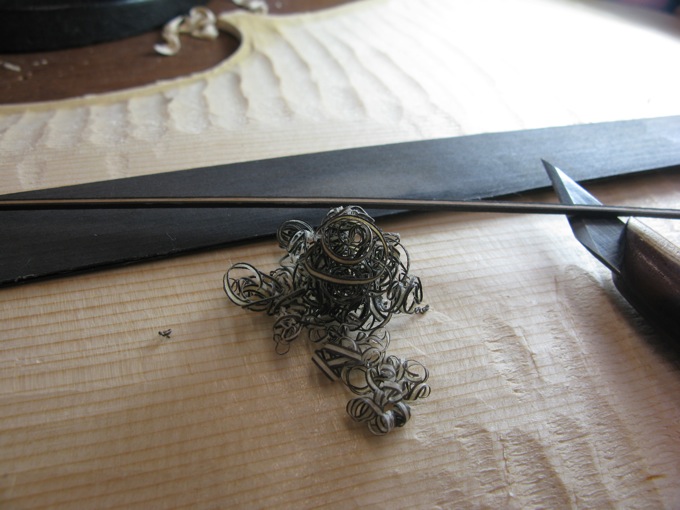
Once the veneers are glued together, strips of 2mm are cut and each edge carefully planed.

The purfling marker is a tool specifically designed for the purpose of marking where the channel will be cut to a perfectly set distance from the edge (and following the outline, hence the care that has to brought to the latest)
I must admit our purfling marker is particularly fancy and now quite rare.
The blades are set with a bit of purfling between then and the handle rest on the outline. the screws are for setting it.
However good the marker, when comes to the corners, this will have to be drawn free hand. Where the purfling meet in the corners, this is called the mitres. It usually takes me ages before I am happy with the [imagined] 8 mitres flawing in the 8 corners, each working as a whole as well as adjusting to the slightly individual shape of each corner.

lundi 12 mars 2012

Finished outlines


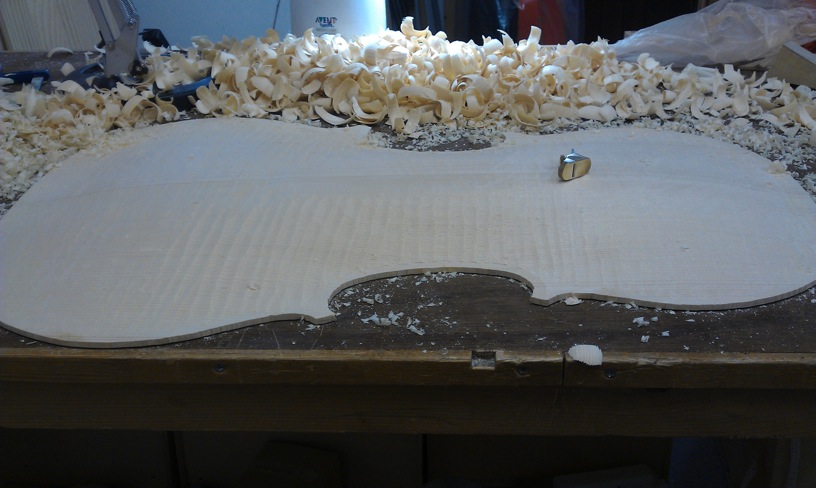
This picture shows the entire outline finished on the front.
That plate will yet look very different with its fluting and the finished edges.

finishing the outlines

When the arching are "roughed" - that usually means the higher point is brought to definitive (or almost), and the rest has been given a little bit more of an arching shape, we bring the edges to the definite set height and make sure they are accurately flat. We call this the platforms. They are a reference point from which the outline of the edge will be refined to its finished form and that has to be to right angle with the platforms so the purflings and the flutings can be flowing. From this the finished arching depends a lot too.


I then finish the outlines.
The edges have an important role in the aesthetic and in the structure. They have to be strong, but they cannot be too thick, they have to be elegant, and even though the finishing of them is the last stage before the plate is glued to the ribs, it's how we treat them during the outline making that lead to what they will look like on the finished instrument. My files will be my main tool to get my edges right and square, but in the corners and the "C"s and like using a razor sharp knife to get a crisp cut in the grain.

lundi 20 février 2012

Creating the archings

I do prefer starting the rough arching before bringing the outline to a finish.
In this case, Douglas did a lot of rough arching because as my bump grow, so decrease my physical strength.
We don't forbid ourselves the use of machine tools in that process either as long as they are entirely controlled by hand, so the archings are still our creations.
When creating an arching, a number of material is at our disposal : templates, pictures, plaster casts (plaster copies of existing instruments - usually made by masters such as Stradivari), and for sure our experience is a good guide.
However I found myself that when I make an arching, my flair will be my best guide.

Cutting out outlines.

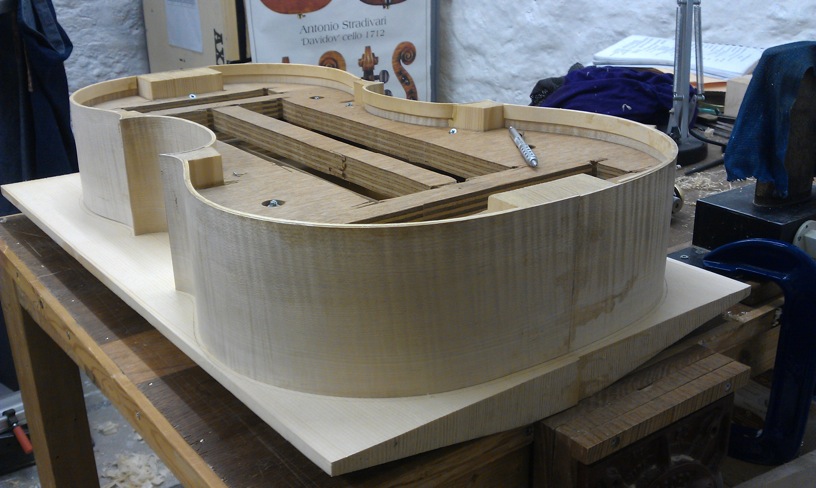
Placing carefully the rib structure on each jointed plate, we first mark around it with a scriber because that will be one of the only references to relocate the plates on the ribs perfectly at the same place. This is crucial for the instrument. We also drill two tiny holes for each plate into the top and bottom blocks and we use pins (called locating pins) to also enable us to accurately relocate the plates on the ribs. Much later on, when we are finished with the pins, the holes will be bushed. Such tiny holes can be seen on most classical instruments.
After that we use a special tool (a washer actually :-) to draw the outline at a set distance from the ribs.

However the corners are drawn by eye and by hand. The style is mine and belongs just to me.
It can take me hours to come to the point I am happy with all my corners fitting in with the rest of my outline (which is also my creation from some years back).


Both plates are cut out carefully, using a band saw - of course.
On this picture, you can see that a bit is missing into the bottom boot at the edge. It is not uncommon that a piece of wood is slightly to short to accommodate the whole outline. In this case a piece will be glued on and the addition will be almost invisible and totally safe. This is called a wing.
In the history of Violin Making some instruments, for that reason or another (sometimes to discard a bad bit in the wood without discarding the whole piece) have been pretty heavily winged...


Both plates are cut of.
The next step is to mark the edge. On this picture we can see the mark along the side that is at an exactly set distance from the underneath of the plate which is flat.
The plates are now ready for most makers favorite bit : Creating the archings.

Linings

The linings are strips of wood (I use spruce, but willow or lime is good too) that run all along the ribs at the "top" and the "bottom" of them - this is the area that we call seams because that is where the plates (the belly and the back) come to be glued to the ribs.

In fact the linings provide extra support to the ribs (to avoid tension and distortions) and also a bigger gluing surface for the seams.


The linings are partially set into the blocks, where with time they tend to lose their bent shape and could come unglued from the ribs (which could cause buzzes). It is not necessary to set them in at the top and bottom bouts as their natural tendency would press them closer to the ribs - if anything.

dimanche 19 février 2012

Trimming the ribs.

Once the ribs of the top and bottom bouts are glued, they need to be trimmed. We do so in such a way that the joint is inside the "C" where they are the least visible.

Now we only need to fit and glue some linings and the rib structure will be left on the side until it comes time to glue it to the plates.