Placing carefully the rib structure on each jointed plate, we first mark around it with a scriber because that will be one of the only references to relocate the plates on the ribs perfectly at the same place. This is crucial for the instrument. We also drill two tiny holes for each plate into the top and bottom blocks and we use pins (called locating pins) to also enable us to accurately relocate the plates on the ribs. Much later on, when we are finished with the pins, the holes will be bushed. Such tiny holes can be seen on most classical instruments.
After that we use a special tool (a washer actually :-) to draw the outline at a set distance from the ribs.

However the corners are drawn by eye and by hand. The style is mine and belongs just to me.
It can take me hours to come to the point I am happy with all my corners fitting in with the rest of my outline (which is also my creation from some years back).
Both plates are cut out carefully, using a band saw - of course.
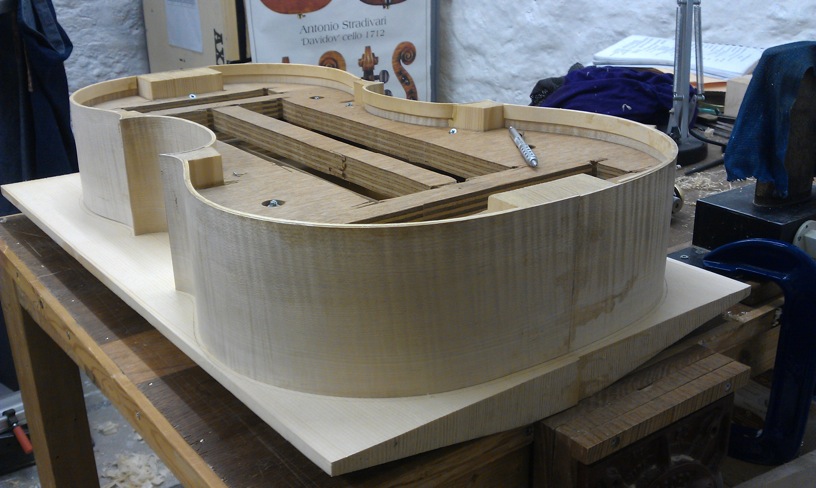
On this picture, you can see that a bit is missing into the bottom boot at the edge. It is not uncommon that a piece of wood is slightly to short to accommodate the whole outline. In this case a piece will be glued on and the addition will be almost invisible and totally safe. This is called a wing.
In the history of Violin Making some instruments, for that reason or another (sometimes to discard a bad bit in the wood without discarding the whole piece) have been pretty heavily winged...
Both plates are cut of.

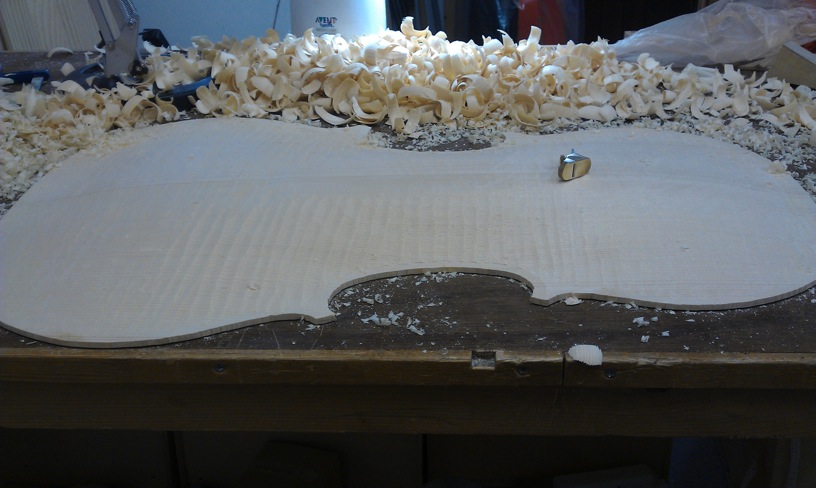
The next step is to mark the edge. On this picture we can see the mark along the side that is at an exactly set distance from the underneath of the plate which is flat.
The plates are now ready for most makers favorite bit : Creating the archings.
 I do prefer starting the rough arching before bringing the outline to a finish.